My first 3D printing project of my own design was a simple cell phone stand. Little did I know the creative monster that would be spawned from this endeavor. This is how the first five days of my adventures into 3d printing went.
The first step of this project, and the genesis of my dive into 3d printing, was picking design software to use. After some basic YouTube searches for 3d modelling software that folks use for 3d printing, I decided to settle on FreeCAD–open source, parametric design/modelling software. I found a very useful tutorial series for FreeCAD beginners and followed along step-by-step with the first four videos. At this point I felt comfortable enough to give it a go at making my first cell phone stand model.
Version 1

Yup…this was it. I might even say, to call it “simple” is an overstatement, but it was my first go. Once the model was ready, which didn’t take long, I sent the model over wifi to the printer, and 30 or so minutes later I held it in my hands. It was light weight, it was clean, and it was effective at its purpose…mostly. Here-in I found my first design issue which I was determined to fix in the next revision.
Version 1 – Issue #1

I miscalculated the necessary depth of (what I am calling) the foot of the stand to hold my phone. Luckily it still functioned as my phone could rest on top of the foot…but not what I intended, so I moved on to the next version.
Version 2
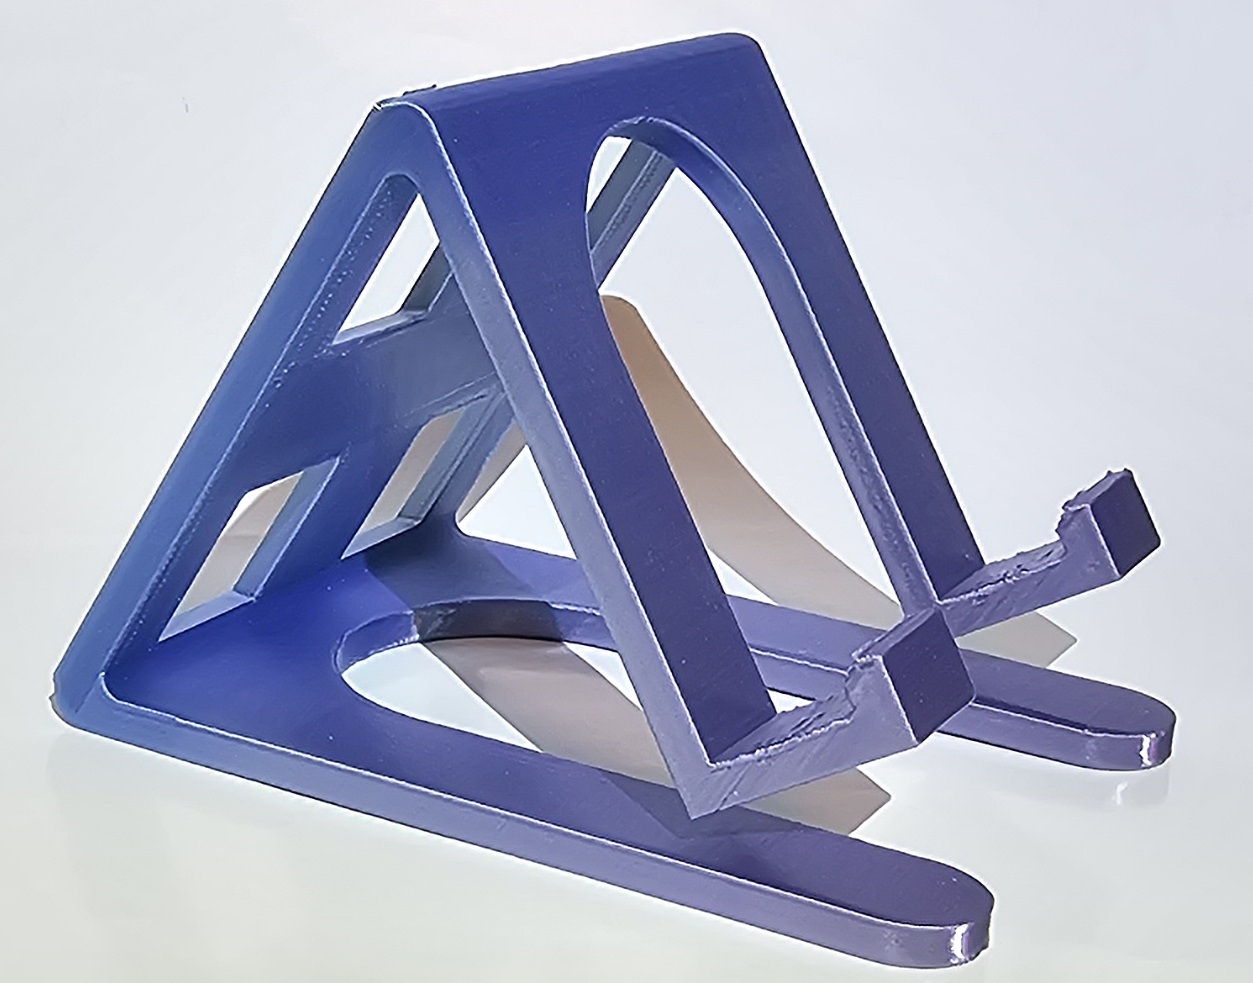
This is basically an improvement of version 1; it is more stylish and I fixed the foot size issue. In preparation of printing this version I realized I had to consider the orientation the model was printed from. It was my first print that required ‘supports’ (extra print surface to account for ‘air-gap’ printing areas…cause you can’t print in mid-air.
Unfortunately, the material area I saved by carving out the model was (partially) lost by requiring the extra support material. Never-the-less, the model was improved and had no major issues. The biggest issue was the stand was bulky…not exactly pocket friendly.
‘EUREKA! I will design a folding phone stand!’
Version 3A

Starting from scratch with a new model design, this was my first attempt at a folding cell phone stand. A design paradigm for the model was individual parts that could be connected to each other. This removed the need for any support material. This also involved learning/discovering how to make moving and connecting parts. I opted to go with a ball and socket design. ‘I’ve seen things like that before. Maybe that will work,’ I thought. Well, it did, but I had much to learn–part spacing, tolerances, etc. Unfortunately for me, not thinking about it (and I mean come on…cut me some slack. I have no engineering experience) The bar on the top piece inhibited the piece from folding all the way.

Doh! Let’s try that again.
Version 3B

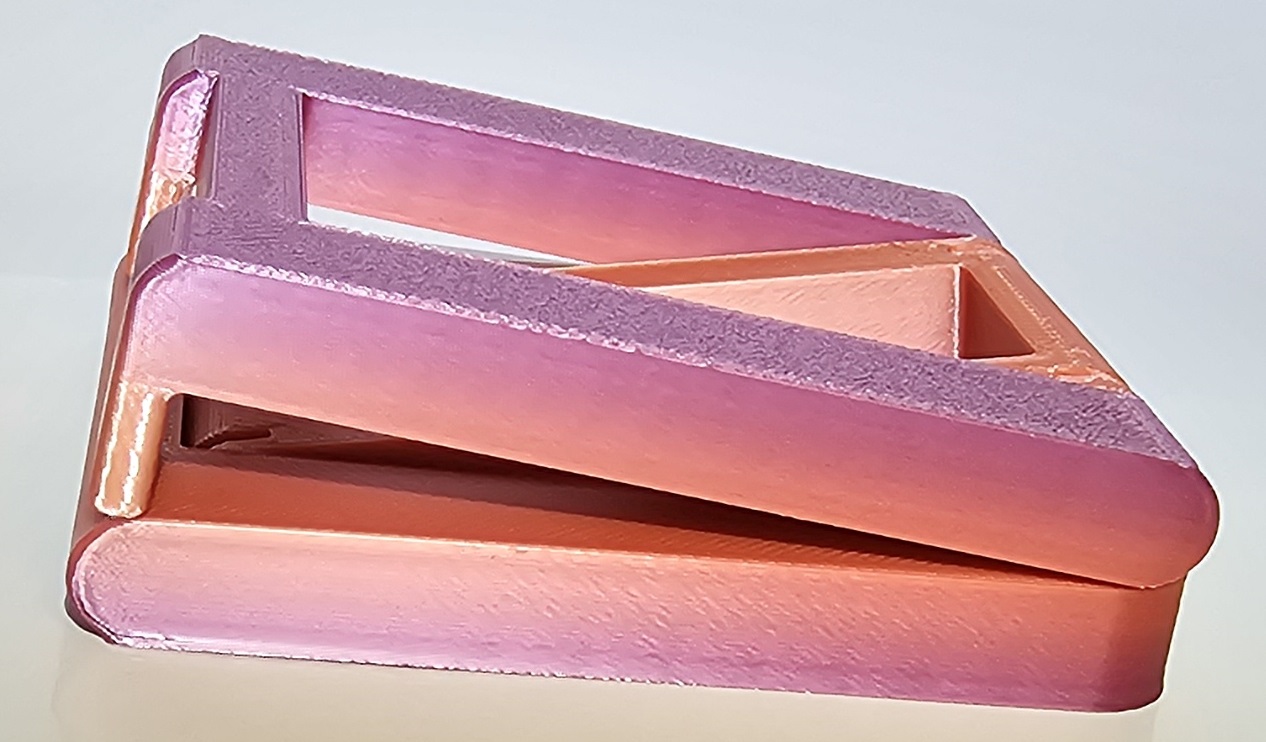
Much better, now. It folds. I still didn’t quite get the math and dimensions right, so it didn’t collapse down flat like I was aiming for, but it was a step in the right direction, and a good learning experience. Another learning experience was the consideration of use cases.
Version 3 – Issue #1

When I showed off my cool design to my coworker, they put their phone on it…and it slid right off. My phone is in a clear rubbery case which has enough grip/friction to stick the stand; not so much for my coworker. I made a small re-design decision (from version 2) to remove the toes on the foot.
Lesson learned, the toes on the foot are important/necessary.
Version 3 – Issue #2
Another design issue with version 3 was stability. When a phone is placed in the vertical position, particularly with heavier/taller phones, they flip right over backwards Sweeney Todd style. Whoops, didn’t see that in my use case either thanks to my phone case. Lesson learned, I need to consider the phone’s center of gravity, angle of the stand and stability of the hinge mechanism. Hungry to solve these two serious issues and meet my goal of a folding stand, I pressed on with the next version.
Version 4

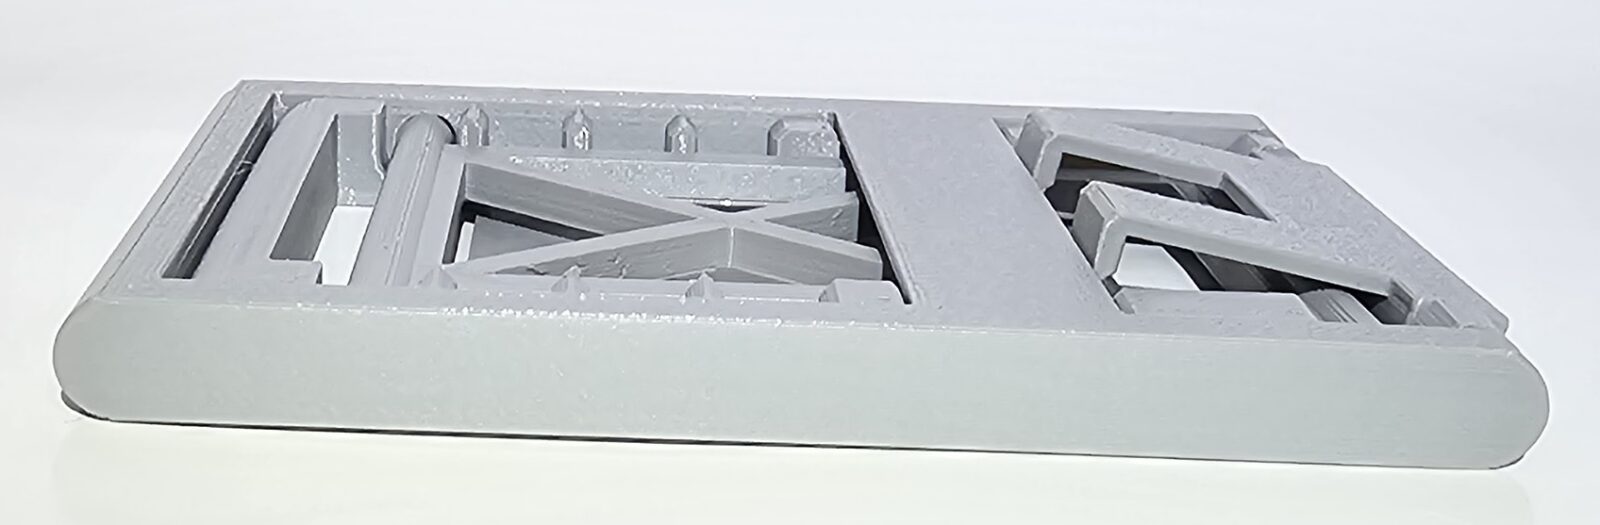
It folds. It has variable angles. It fits in your pocket. It’s pretty great.
Ok, so I cheated a little here. Before I started on the new design for this version I decided to google folding phone stands. I saw a thumbnail of a stand with this concept–a hinge that comes from the back side of the resting plate–and thought, ‘oh, that’s much more stable.’ So yes, the mechanism was not my creation/idea, but the design is.
Anyways…this was a huge improvement over version 3. I addressed both issues and it functioned much better. I only had two primary complaints with the design.
Version 4 – Issue #1
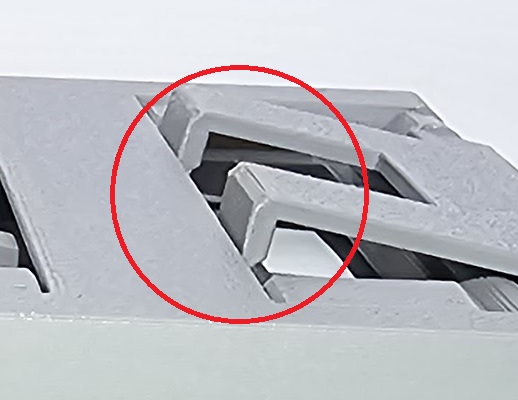
The pieces didn’t quite fit as nice as I was hoping, particularly the foot.
My goal was for it to lay flush with the rest of the stand when folded, but I didn’t make enough clearance. Also, the hinge pieces were a bit too small for my liking; and it wiggles a bit. Not a huge issue, but I could do better.
Version 4 – Issue #2
It is a little too tall. This was completely a cosmetic complaint. I just didn’t like how much of the stand was ‘exposed’ when a phone was resting in the horizontal position.
And so I set out to improve this design from the ground up.
Version 5 – Final version

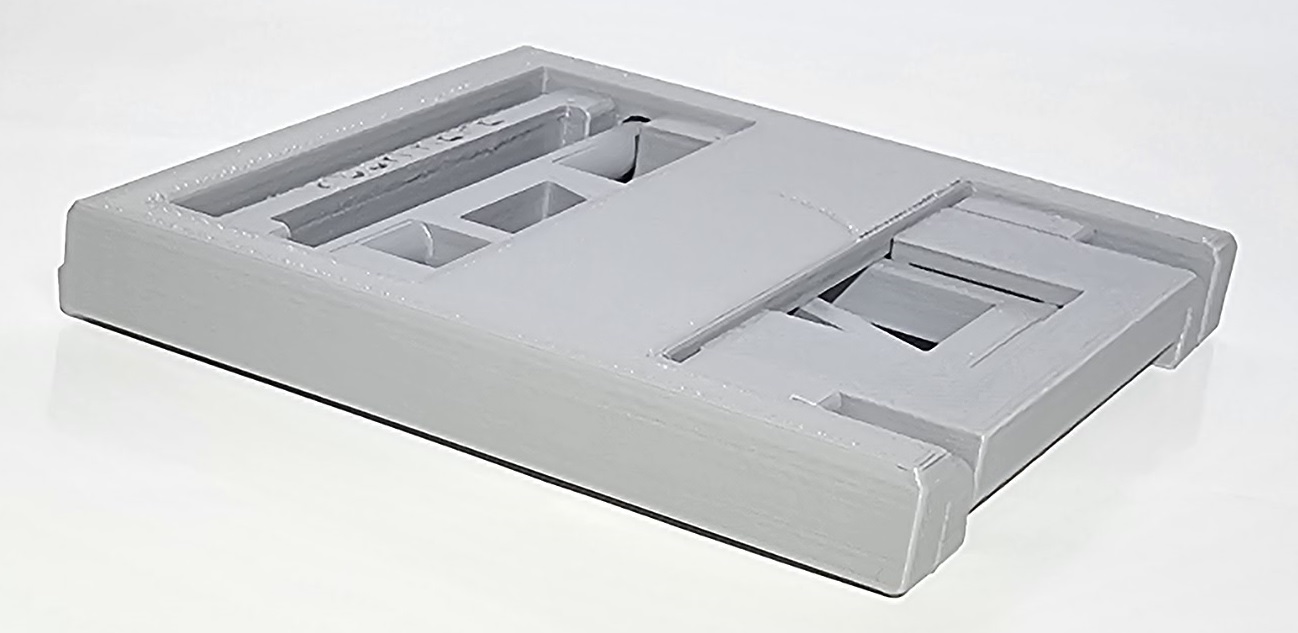
At last, the pièce de résistance. It’s smaller, it fits well, it functions. This version took longer to design than the time it took to design versions 1 through 4 combined.
Improving from version 4, I managed to get the fit much better. I spent a long time refining, printing, refining, printing, refining. I also decided to forgo the multiple slots from version 4 as the slight angular differences were pretty negligible.
I still have a lot to learn about design and using FreeCAD, but I am happy with the end result and have a greater appreciation for what it takes to make a good working design/model. On to the next project…whatever that may be.